Fill in a short form and copy a README for your username/username repository
The form takes your name, a one-line intro, four optional lines (working on, learning, ask me about, fun fact), up to five links and a choice of skills. The Markdown and a preview update as you type. You leave with a README.md to copy or download and three steps for putting it on GitHub.
Name the repository after your username and GitHub shows the README
GitHub displays a profile README when all four things are true: the repository name is exactly your username, it is public, there is a README.md in its root, and the file has content. If your repository was created before July 2020, the README does not appear by itself and you use the Share to profile button in the repository. The README leaves your profile when the file is deleted or emptied, when the repository goes private, or when its name stops matching your username. GitHub's own prompt guidance adds a size limit: content beyond 500 KiB is truncated.
People who want a profile that says something in ten seconds use it
- A junior developer puts a portfolio-ready README above the pinned projects.
- A bootcamp graduate adds contact links before the job search starts.
- A course author gives students one form instead of a Markdown tutorial.
- A DevRel team member sets up a profile that matches a conference talk.
- A maintainer replaces an empty profile with a short note on what they work on.
Form, preview, commit: three steps to a profile README
Step 1: fill in what you want a visitor to know
All fields are optional. A username is not required. If you give one and press Fill, the tool makes one request to GitHub and copies your public name, bio, website, X handle and email into empty fields. Your bio lands in the intro box as a first draft.
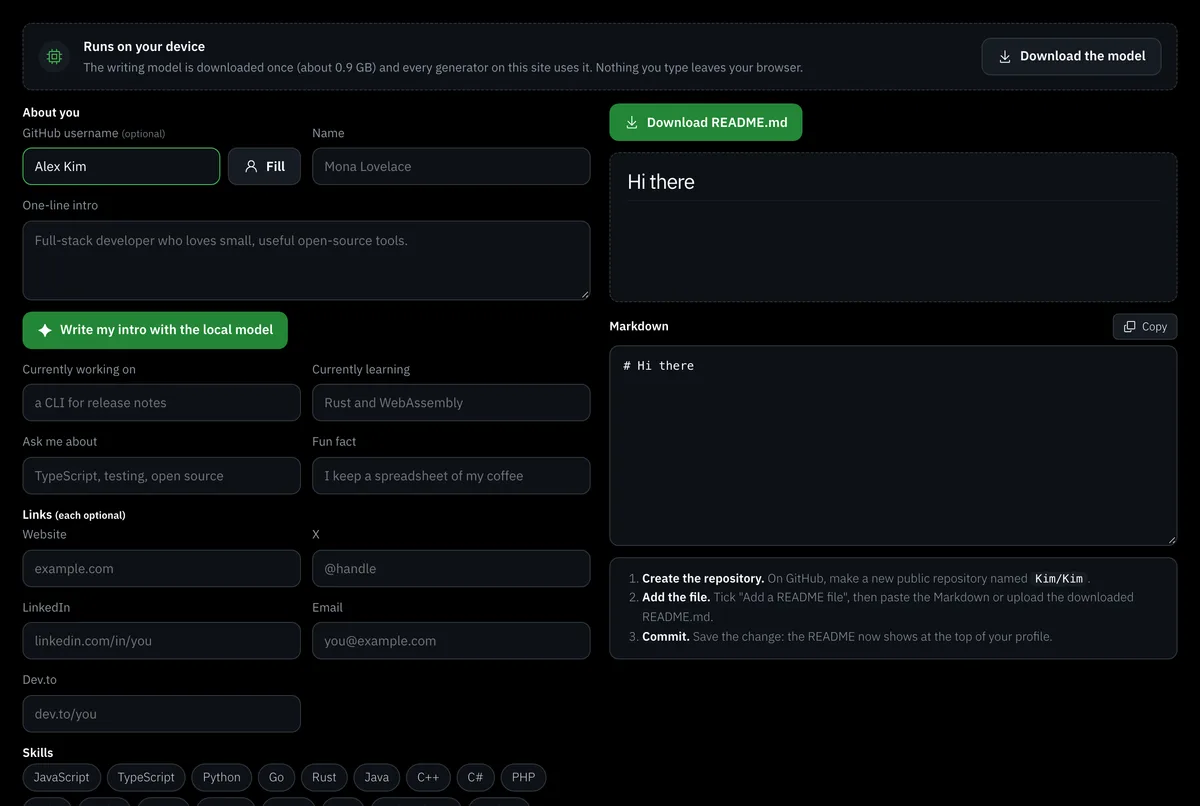
Step 2: read the preview next to the Markdown
The preview shows how the README will look, and the Markdown field shows what produces it. The preview renderer escapes everything first, so pasted text cannot inject HTML. Use the table below to see which field makes which line.
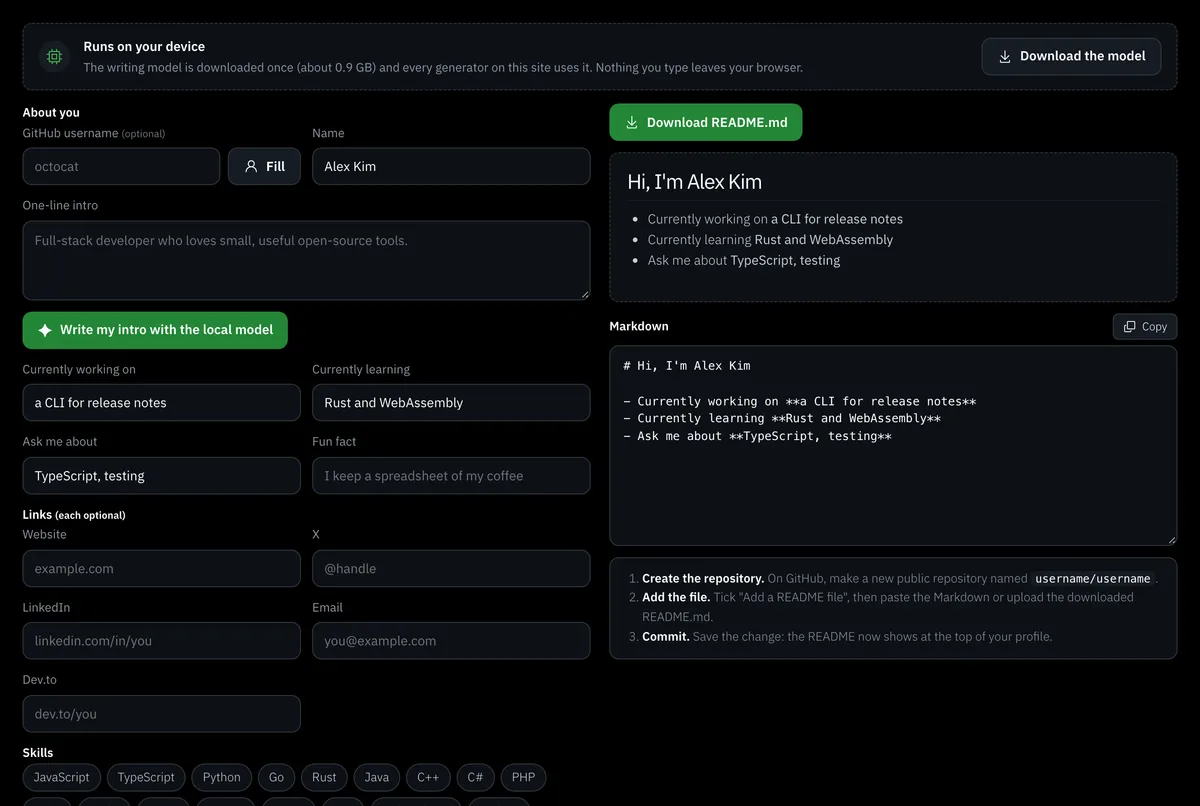
Step 3: copy or download, then commit to username/username
Copy the Markdown or download README.md. On GitHub create a public repository named exactly like your username, tick Add a README file, paste the Markdown and commit. The README appears above your pinned repositories. The tool does not create the repository for you.
See what every line of the generated Markdown does
| Form field | What lands in the file |
|---|---|
| Name | # Hi, I'm Name, or # Hi there when empty |
| Intro | A plain paragraph under the heading |
| Working on, learning, ask me about, fun fact | A bullet list with the values in bold, except the fun fact |
| Website, X, LinkedIn, email, Dev.to | A ## Connect with me section with the links on one line separated by | |
| Skills | A ## Skills section with one badge image per skill |
| Stats switch | A ## GitHub stats heading and an HTML comment telling you what to paste |
| Visitor counter switch | An HTML comment line for the counter |
The layout has one fixed order and the tool has no templates. To rearrange, edit the Markdown after you copy it. After the README, GitHub's resume guide suggests pinning 3 to 5 projects, then get free followers for your new profile.
Keep the skills row as badges you can edit
The list has 30 technologies, from JavaScript and Python to Docker and PyTorch. Competing generators list 60, 90 or more, and each keeps its own catalogue. Each skill becomes a shields.io image with a colour and a Simple Icons logo, in the form https://img.shields.io/badge/Python-3776AB?logo=python&logoColor=white. If your technology is missing, copy one badge line and change the name, colour and logo by hand. A row of thirty reads as a list nobody checked, so tick the ones you use. For custom badges see the badge generator.
Add stats and a visitor counter from the neighbouring tools
The two switches put a heading or a comment into the README that names the tools which make these parts: the README stats generator and the profile views counter. Paste their Markdown where the comment stands. Know what is live. Skill badges are loaded as images when the README is viewed. Our stats cards are SVG files drawn at the moment you generate them, so refresh them by generating and uploading again. The counter is an image from a public counter service.
Pick the generator type that fits your job
| Type | Suits | You get |
|---|---|---|
| Web form (this tool) | A first README in minutes, no Markdown knowledge | Markdown, live preview, copy and download |
| Template repository | People comfortable with Git who want a set design | Files you own and edit by hand |
| README from code | A project README, which is another job: see the README generator | Sections written from the repository |
| By hand | Full control and GitHub's own tricks | Whatever you write |
GitHub's quickstart shows three Markdown tricks that form generators skip: an image that switches with the light or dark theme, a table for an about-me block, and a collapsed section. This generator does not write them either. Add them by hand once the base README is in place.
Write the intro yourself and let the model give you a draft
The button writes two to three first-person sentences of under 60 words from the facts in the form and nothing else. Without WebGPU, or if the model fails, a template writes it from the same facts. Either way it is a draft. A template alone grows no audience and good content grows any account, so rewrite the line in your own voice. The 0.9 GB model is fetched once for all generators and runs locally, so the draft is written on your device and your text is not sent anywhere.
Know what leaves your browser and what the address holds
- The username lookup goes to GitHub, through the site's cache, and only when you press Fill.
- The preview loads skill badges from shields.io, so the names of ticked skills reach that service. Your intro, name and links do not.
- The form is stored in the page address. A shared link carries everything you typed, including an email. Delete the email field before you share it.
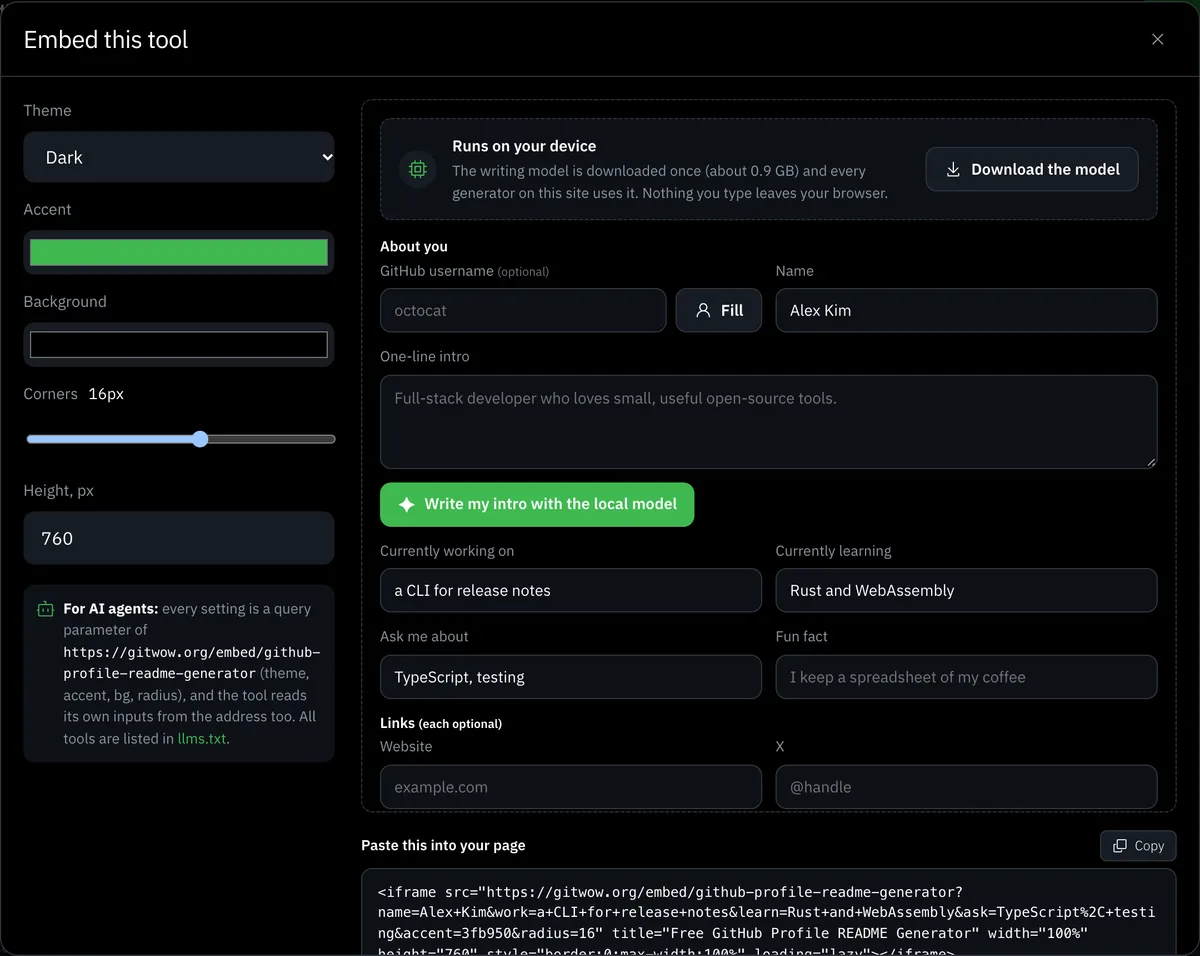
Parameters for the link are user, name, intro, work, learn, ask, fun, web, x, linkedin, email, devto, skills (a comma-separated list), stats=1 and views=1. An agent opening the link gets the Markdown at once, with no model involved. The iframe from the Embed window takes the same style settings (theme, accent colour, background, corners, height, with a live preview) and carries your filled form, so a bootcamp can show the tool already set to its template. The iframe address is /embed/github-profile-readme-generator and all tools are in /llms.txt.
More about what a profile README can hold is in the guide to the profile README and the examples gallery. The short bio line is a separate job for the bio generator, and the rest of the profile is in how to make a good GitHub profile. For the project you pin, get free stars.