Paste a repository and get a README.md that already knows the project's language, license and root files
A README is often the first thing a visitor reads in a repository. This generator reads a public repository through GitHub's API, then drafts a README with a title, badges, an intro, Features, Quick start, Usage, Configuration, Contributing and License. You see a preview, copy the Markdown or download README.md. What you get is a first draft that is right about the facts a program can read and honest about what it left to you.
Your install and run commands come from the repository's own files, not from the model
The tool lists the files in the repository root and picks the ecosystem from their names. Plain code, not the model, then writes the Quick start. When a repository has several of these files, each ecosystem gets its own block under its own heading.
| File in the root | Install line | Run line |
|---|---|---|
package.json | npm install, or pnpm, yarn or bun when pnpm-lock.yaml, yarn.lock or bun.lock sits beside it. A library is installed by its npm name instead | Your own dev or start script, then test when there is one |
pyproject.toml, requirements.txt or setup.py | pip install -r requirements.txt when that file exists, otherwise pip install . | python -m plus the repository name in lower case, with dashes and dots turned into _ |
Cargo.toml | cargo build --release | cargo run --release |
go.mod | go build ./... | go run . |
Dockerfile | docker build -t name . | docker run --rm name |
Every block starts with git clone and cd into the repository. If no build file is found, the block says so and sends the reader to the repository's files.
For Node.js the tool goes one step further and opens package.json itself. A project whose main script is called dev gets npm run dev, a test script adds a test line, and a project that exports code but has no start script is treated as a library, so the Quick start shows npm install with its npm name and skips the clone. The other ecosystems are read from file names only: the Python module name is a guess from the repository name, and Rust, Go and Docker get their standard commands. Plain version: the Node.js lines follow your scripts, and the Python run line needs your eye before you commit.
Maintainers, newcomers and course authors use the draft as a first version
- A maintainer with a working project and an empty README generates a draft in a minute and spends the saved time on the usage example.
- A junior developer finishing a portfolio repository gets the sections recruiters look for, then adds a screenshot.
- A course author runs it on ten student repositories to see which ones lack a license or a build file.
- A team that archives side projects drafts a README for each, so the next person knows how to run them.
- A maintainer after a big refactor regenerates the draft and compares it with the current README to spot commands that changed.
Three steps: name the repository, read the preview, take the file
Give it a repository and a few notes
Paste owner/repository or a link. The Notes field takes up to 2,000 characters, one thought per line: what the project does, its features, how it is used. Press Generate README, or Template only to skip the model.
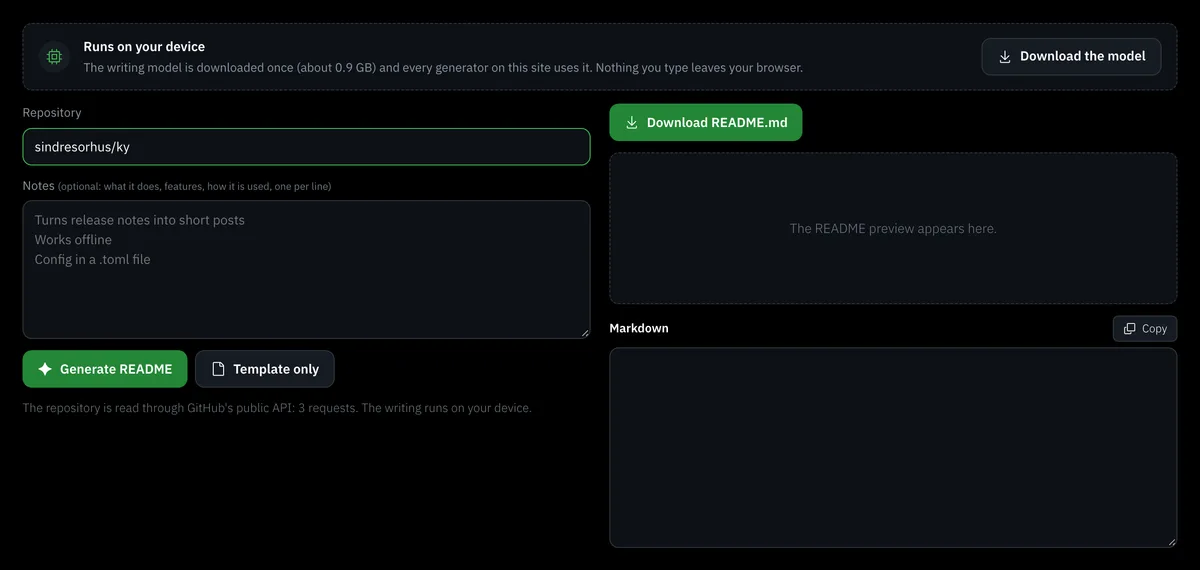
Read the chips and the preview
Chips under the form show what was found: Stars, Language, License and Detected, the ecosystems recognised from the root. The preview renders the Markdown safely, with everything escaped first, so nothing in a draft can run.
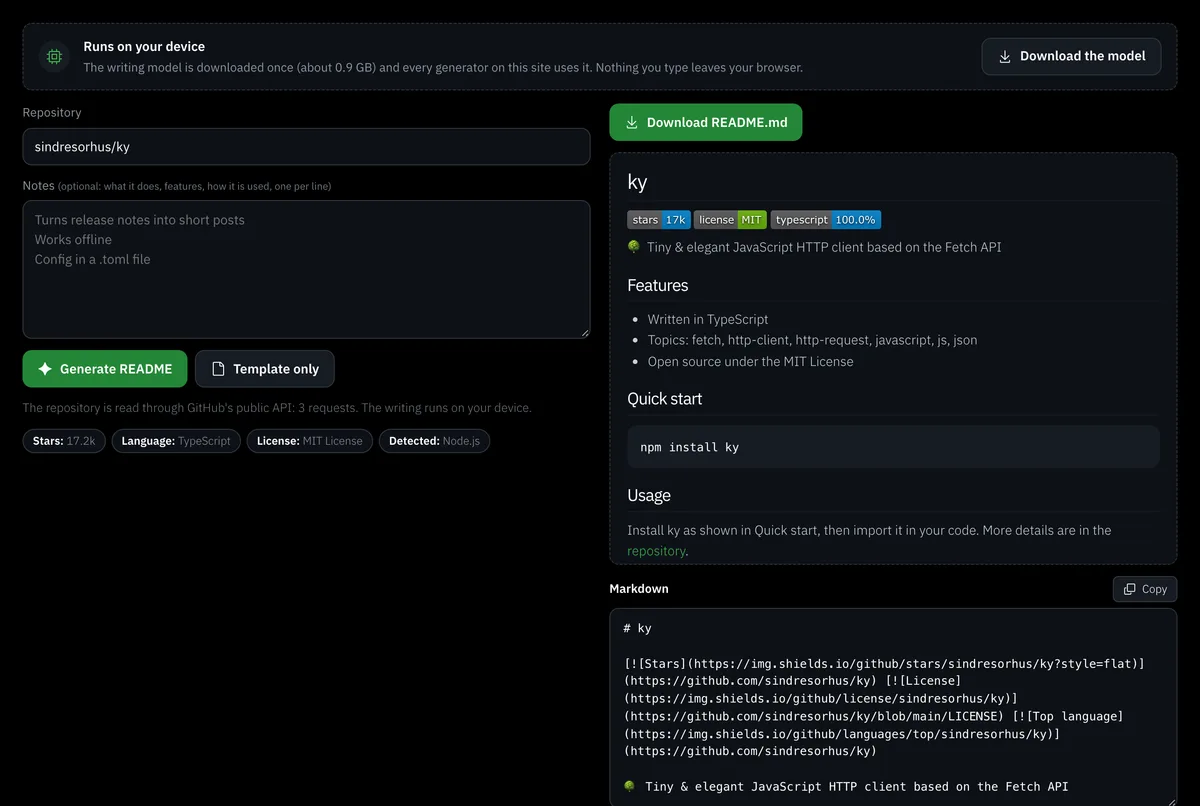
Copy, download or embed
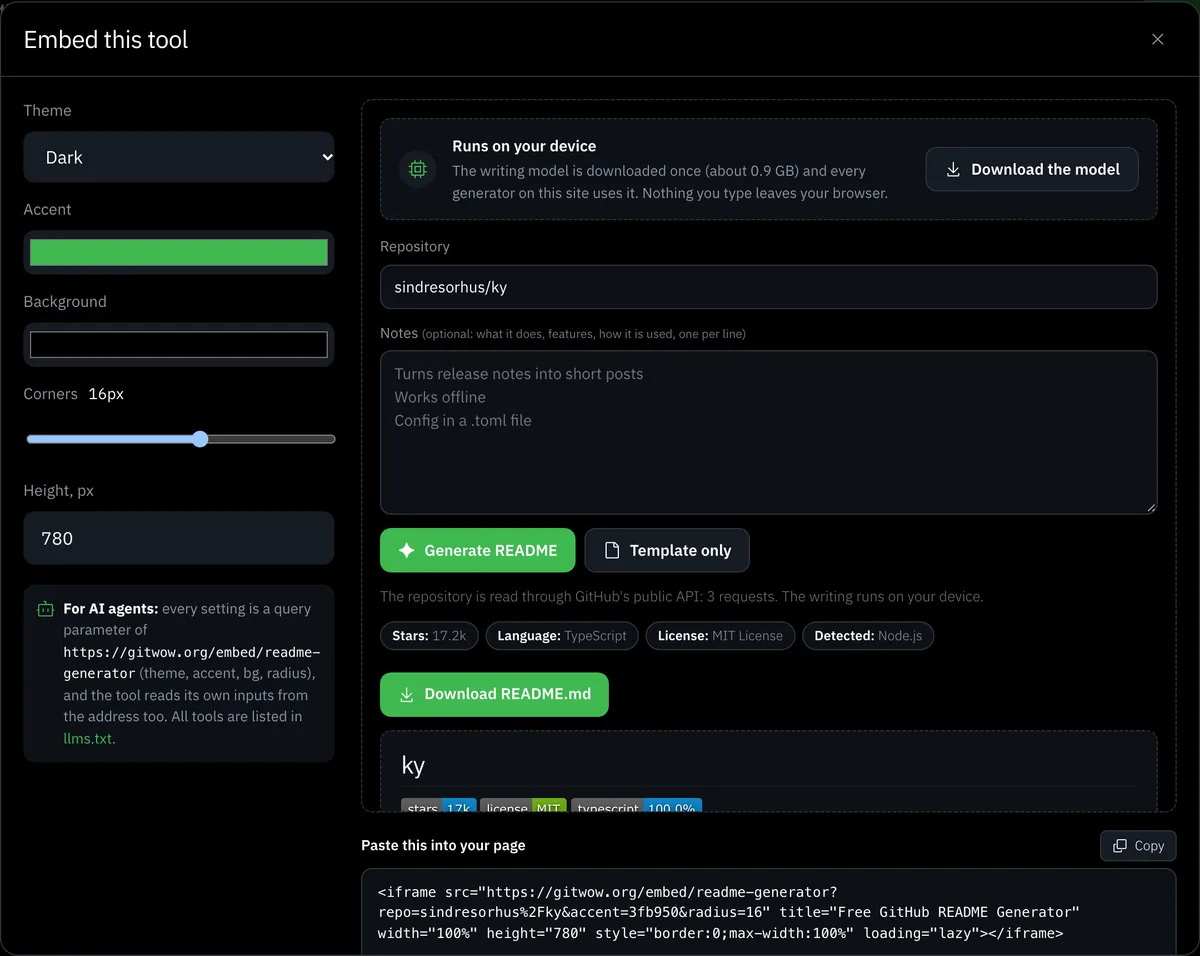
The Markdown field has a Copy button, and Download README.md saves the file. The Markdown field is read-only, so edit the file after you save it. The Embed button builds an iframe of the generator for your own site.
How the draft is built: GitHub facts, a local model and a template fallback
A run makes three requests to GitHub's public API: the repository, its languages and the list of root files. The local model then writes the intro paragraph, Features, Usage and Configuration. It is told to use only the facts it was given and not to invent commands, flags, options or links. The code writes the title, the badges (Stars, License and Top language from shields.io), Quick start, Contributing and License itself, and fills any section the model skipped from a template.
The model runs in your browser on WebGPU. It downloads once for the whole site, about 0.9 GB, and nothing you type leaves the device. Without WebGPU, or when the model fails, the whole README comes from the template, and a status line says so. Template only goes straight there. If you open a shared link that has a repository in it, the page first shows a template draft, and Generate README asks the model for a fuller one.
The repository itself is read through a public API, so only public repositories work. A private one stops with an error message. Describe a private project by hand, with the README guide beside you.
The five questions GitHub expects a README to answer, and where each one lands
GitHub's documentation says a README often is the first thing a visitor sees, and typically covers what the project does, why it is useful, how to get started, where to get help and who maintains it (About READMEs).
| Question | Where the draft answers it |
|---|---|
| What the project does | The intro, from the repository description, or from your notes |
| Why it is useful | Features, from your notes, languages, topics and license |
| How to get started | Quick start, Usage and Configuration |
| Where to get help | Nowhere. Add a line about issues, discussions or a chat by hand |
| Who maintains it | Partly: the title carries the repository name, and Contributing and License say who may change and reuse it. Name the maintainers yourself |
Three more GitHub facts shape the draft. GitHub shows one README, picked from the .github folder, then the root, then docs. Anything beyond 500 KiB is cut. And GitHub builds a table of contents from your headings, so you do not write one. GitHub's own prompt for a README also advises relative links and moving API reference, long troubleshooting and the license text into separate files (Create README). Our draft links to LICENSE and config files with full addresses, so change those to relative links such as LICENSE.
Use Notes to steer Features and Usage
Three or four lines in Notes change the result more than another round of generating. Each line becomes a bullet in Features and Usage in the template, and the model receives them as facts. Lines such as "Turns release notes into short posts", "Works offline" and "Config in a .toml file" are enough. The Notes text is saved in the page address, so a shared link carries it. Keep anything private out of it.
Check before you commit: commands, license and one screenshot
- Run the Quick start in a clean clone. Look at the run line and, for Python, the module name.
- Read the License section. If the draft says no license file was found, add one before anything else.
- Write one line that says why the project exists, in your own words. A draft is a base, and a README full of general phrases looks like every other README.
- Add a screenshot or a short GIF of the project running.
- Keep badges that report a fact. The generator adds Stars and Top language, and License only when a license is found.
- Add the line about where to get help.
The badge generator adds more badges, and the repository description generator writes the short description the intro is built from. A README named after your username, in a repository with that name, shows on your profile, which is the job of the profile README generator.
Pick the path that fits: this page, a hosted-model CLI, a template builder or a Copilot prompt
| Path | What you install | Where your code goes | What you get |
|---|---|---|---|
| This page | Nothing | The writing stays on your device, the repository is read through a public API | A draft with fixed commands |
| CLI that calls a model (readme-ai type) | A Python or Node tool and an account with a model provider | To the model provider you choose, unless you run a local model | A fuller draft from deeper code reading |
| Template builder (blueprint with placeholders) | A tool and a template you write | Stays local | A README you maintain as code |
| Copilot prompt file | The file create-readme.prompt.md in .github/prompts | To Copilot | A README written in your IDE with the /create-readme command |
GitHub says prompt files are available only in VS Code, Visual Studio and JetBrains IDEs. We pick no winner: the table says what each path needs, and the choice follows where your code may go.
Embed the generator, or hand the link to an AI agent
The Embed button beside the heading offers a dark or light theme, an accent colour, a background, corner roundness and height, with a live preview and the iframe code, at /embed/readme-generator. The two inputs are parameters in the address: ?repo=owner/name and notes= followed by your lines. An agent that opens that link gets the template draft. The page /llms.txt lists all the free tools, and the free tools catalog shows them to people.
What sets this generator apart
It is free, needs no sign-in and no model account, and nothing you type leaves your device. Commands come from the repository's files, the model sees only facts and never writes the Quick start, and the tool says in the page when the template took over. It reads the root and not the source code, and it does not create a Where to get help section. When the README is done, the next job is the first stars, and the star history generator shows what the README did to the curve.